Mozzarella
Step-by-step for
fresh mozz from scratch
Thank you for joining us for Mozzarella Class! Feel free to save this as a take home to reference later on when you’re making your own mozzarella at home.
Making cheese is simple, but simple isn’t always easy. All good cheese starts with one main ingredient: high quality milk. I love using Mill-King whole milk for my cheesemaking; it is made right here in Texas, and the low pasteurization process keeps a lot of flavors and qualities intact rather than burning it off. This comes in handy when making cheese and leads to higher yield. Other than milk, mozzarella is only 2 additional ingredients: citric acid and rennet. Citric acid balances out the creaminess of the milk, and helps for elasticity when stretching later. The rennet is what separates the milk into curds and whey which is made up of mostly water, but also keeps some of the proteins and minerals. Most cheeses start the same way, by turning milk into cheese curds. One we have the curds, then we will stretch and heat the curds to form Mozzarella.
You can always skip the curd making process and buy it premade, which can shorten the overall prep time, but I highly recommend making it yourself. There is something about watching curds separate from milk that feels a lot like MAGIC and once you get the hang of the process you’ll find the little extra time is worth the effort. I prefer to do it a day or two in advance to give myself more time the day of making it for dinner. BelGioso is a readily available brand of cheese curd that uses all organic Italian milk, but it does have preservatives in it to keep it shelf stable. If you’re lucky enough to come across some cheese curds from a local farmer, pick them up and give it a shot and skip to the next step.
Making the Curd
The recipe: (Makes enough for 8-10 mozzarella balls)
1 gal Mill-King low temp pasteurized milk
1.5t citric acid (dissolved in 1/4c non-chlorinated water)
1/4t liquid rennet (dissolved in 1/4c non-chlorinated water)
I highly recommend buying a scale and using grams for any cheesemaking recipe (and really any recipe in general) and a descent thermometer as well. You’re only as good as the tools you give yourself.
In a small bowl dissolve citric acid with 1/4c of non-chlorinated water, and in a separate bowl dissolve the rennet in 1/4c non-chlorinated water. Once both are dissolved, add your milk to a non-conductive (no aluminum pans here) and heat up slowly on medium-low heat, stirring occasionally. It is very helpful if said pot has a lid so that we can cover it later on. Add in the diluted citric acid and mix thoroughly while the milk is cold. Continue to heat on medium heat until temperature of the milk reaches 90F. Once this happens, turn off the heat, and slowly add in the rennet. Using a wooden spoon, gently, but thoroughly mix in the rennet for about 30 seconds, using up and down movements as well. Cover the milk and let sit undisturbed for about 20 minutes, or until you can see that the milk has curdled into a white mass, and looks to be floating in the yellow whey. Using a long knife, cut the curds into 1 inch cubes and return the pot to heat. Gently stirring, being careful not to break up the curds too much, bring the curds back to 108F. Once the temperature is reached, turn off the pot and let the curds cook over residually for 20-30 minutes. Carefully scoop the curds out of the whey and drain in a colander. Let cool. If you’re planning on stretching into mozzarella another time, make sure to store the curds in a little bit of whey to prevent drying out.
PRO TIP: You can save the whey and use it for all kinds of dishes like poaching fish or vegetables! You can also reduce the whey down to a paste to flavor other recipes like curries, pasta sauces, or even whipped butter or cream cheese!
Stretching the Curds
First things first, we need make a brine so that our cheese tastes good. Cheese without salt isn’t really cheese at all, is it? Adding salt to the water that you cook the mozzarella in allows the salinity to spread throughout the whole curd. I make a 5% salt solution, which comes out to roughly a scant cup of salt (I use Morton’s kosher) per gallon of water. If you have a scale, this is your chance to use it. A gallon of water is about 3800g so that comes out to a whopping 190g of salt per gallon of water. It’s salty. Saltier than seawater (3.5%). Don’t be scared you’ll thank me later.
Add your salt water in a pot and get it going on high heat. Find a large glass storage container and fill it with cool room temperature water, set aside for later. Meanwhile, cut your cheese curds into half inch rough cubes, put them in a large bowl. Once your brine has reached 185F, turn off the water and let sit for about 5 minutes. Working carefully, ladle enough water to just cover the curds and let the bowl sit for about 5 minutes. Drain out the now cold water and once again add enough water to just cover the curds. Using a wooden spoon, carefully mix the curds into the water, until the cheese starts to form into a singular mass. Adding more hot brine in batches as needed, heat and turn the curd with your wooden spoon. Continue to lightly turn the cheese over on itself until its smooth, elastic like taffy or putty, and having no bumps of unmelted curd. Be careful not to overwork the curd mixture, as it will become chewy - it’s not a pasta dough. Also try and keep the temperature consistent in the bowl, you want it to be hot the entire time before forming into balls.
Touch the mozzarella to make sure that they are a comfortable temperature to handle. You can also use a pair of rubber gloves to protect from the heat, or wait until the mozzarella has cooled just a bit. Working quickly, form the balls by making a “OK” sign with one hand, and pushing cheese through the finger hole into itself. Once the ball has reached the size you want, squeeze off the ball with a pinch of your thumb and pointer finger. It should remain in the ball shape. Rest it in the glass container of water we made earlier. Repeat until all mozzarella is stretched.
Fresh mozzarella is best enjoyed immediately, but if you’d like to save it, reserve and cool some of the brine you used to stretch the mozz and completely submerge the balls in an airtight container. It will be good to eat for a week but the consistency of the cheese will rapidly deteriorate.
Pro Tips:
Be careful - when working with hot water pay attention to what you’re doing and stay focused. Burns happen much less often if you’re taking your time and not hurrying
Temperature is important - Don’t use boiling water for this, only use water from 165-185, anything else might burn the cheese. Try and keep the cheese at a constant temp as much as possible, if you let it get too cold it won’t shape as well.
Make sure when adding the rennet and citric acid that the milk is mixed thoroughly to ensure that it is dispersed evenly.
Have all your tools, your water bin, and anything else you might need before you start adding water to the curds. Mise en Place chef!
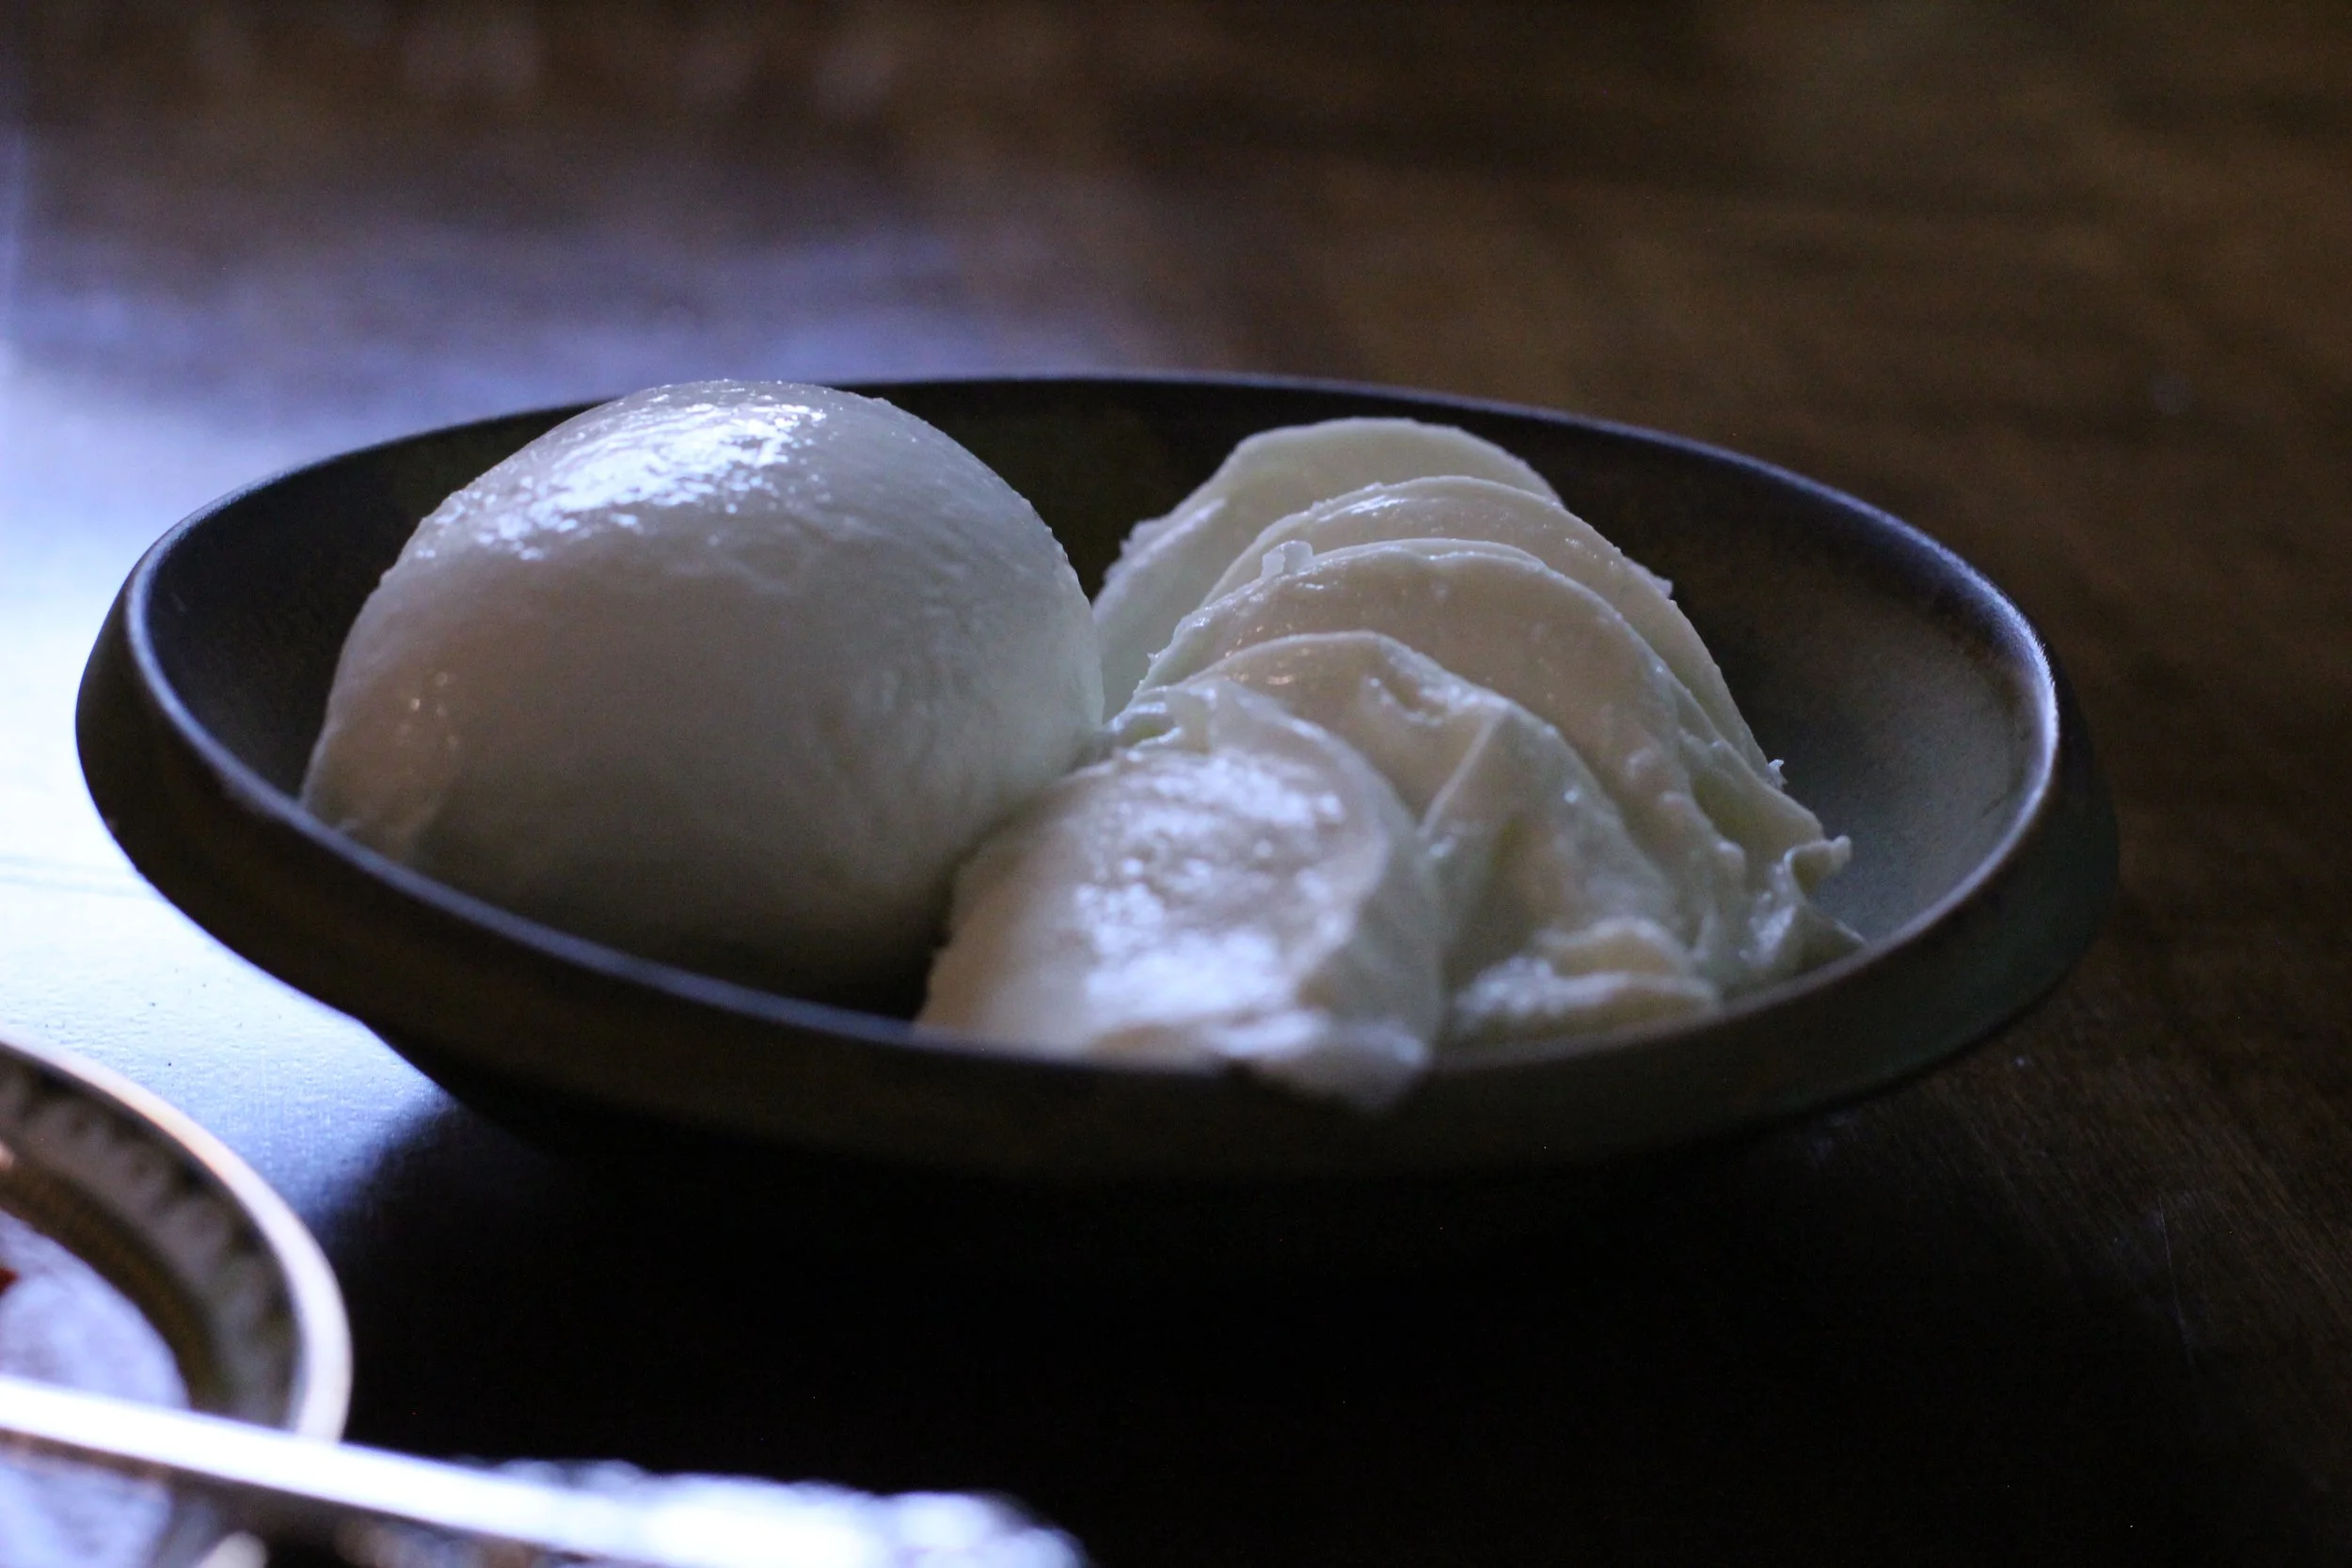
Eating the Mozzarella
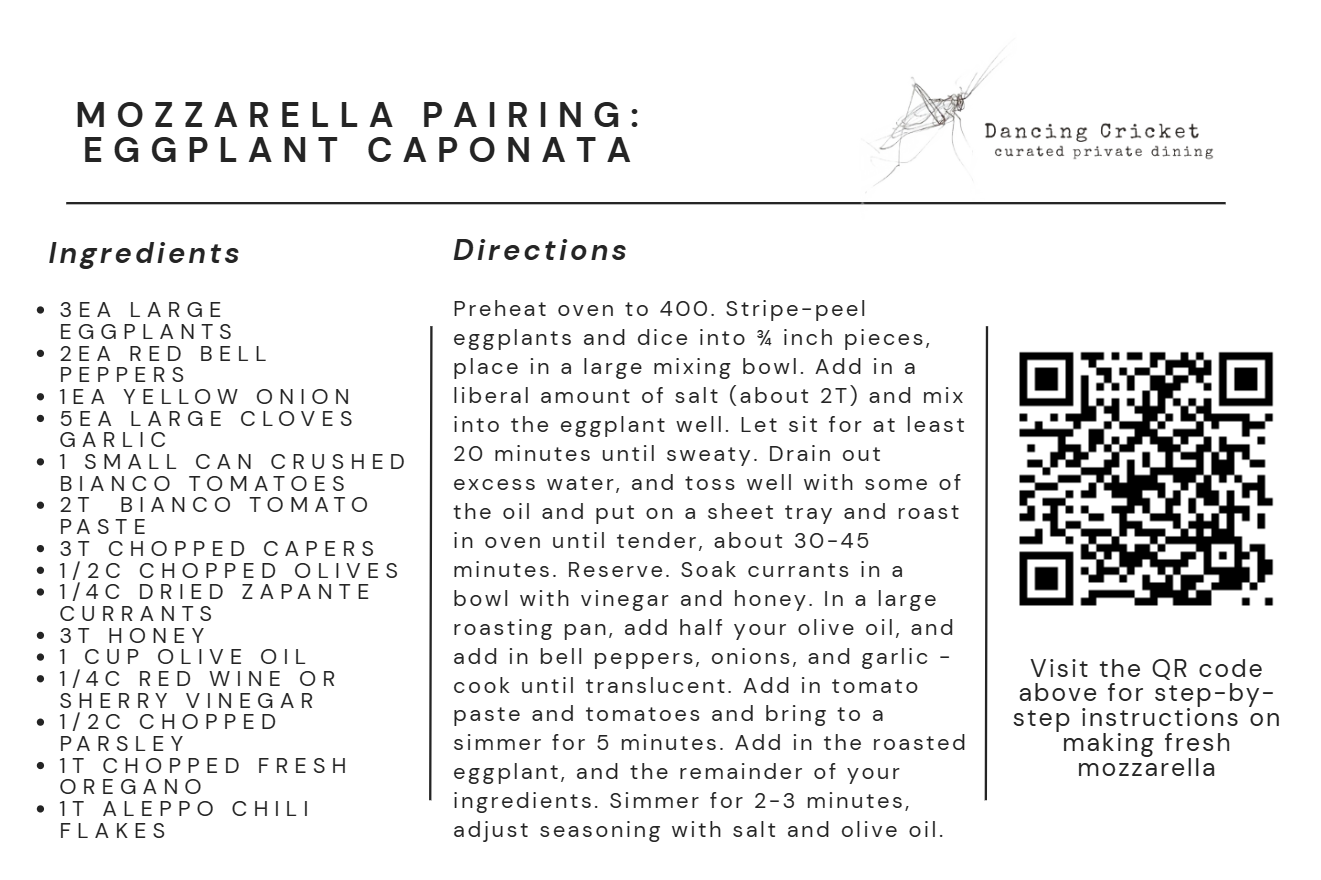
If you’ve made it this far, I hope you have taken a bite of your fresh mozzarella and are enjoying the fruits of your labor. I like to put an excessive amount of olive oil on top of my mozzarella after slicing, and enjoy it with lots and lots of bread. Below is a recipe for eggplant caponata if you are looking for a perfect pairing with your fresh cheese.